Reviewing & managing assets
The assets section provides an organized view of all uploaded media, including images, documents, and other files linked to products and variants. This article covers how to navigate the assets table, understand and apply labels and categories for better organization, and manage existing labels by editing or deleting them as needed.
Navigating the assets table
The assets table contains multiple tools to help you manage your files effectively:
- Attributes – Displays key details such as file name, type, and associated product.
- Actions – Options to edit, replace, or delete assets.
- Search – Quickly find specific assets by entering keywords.
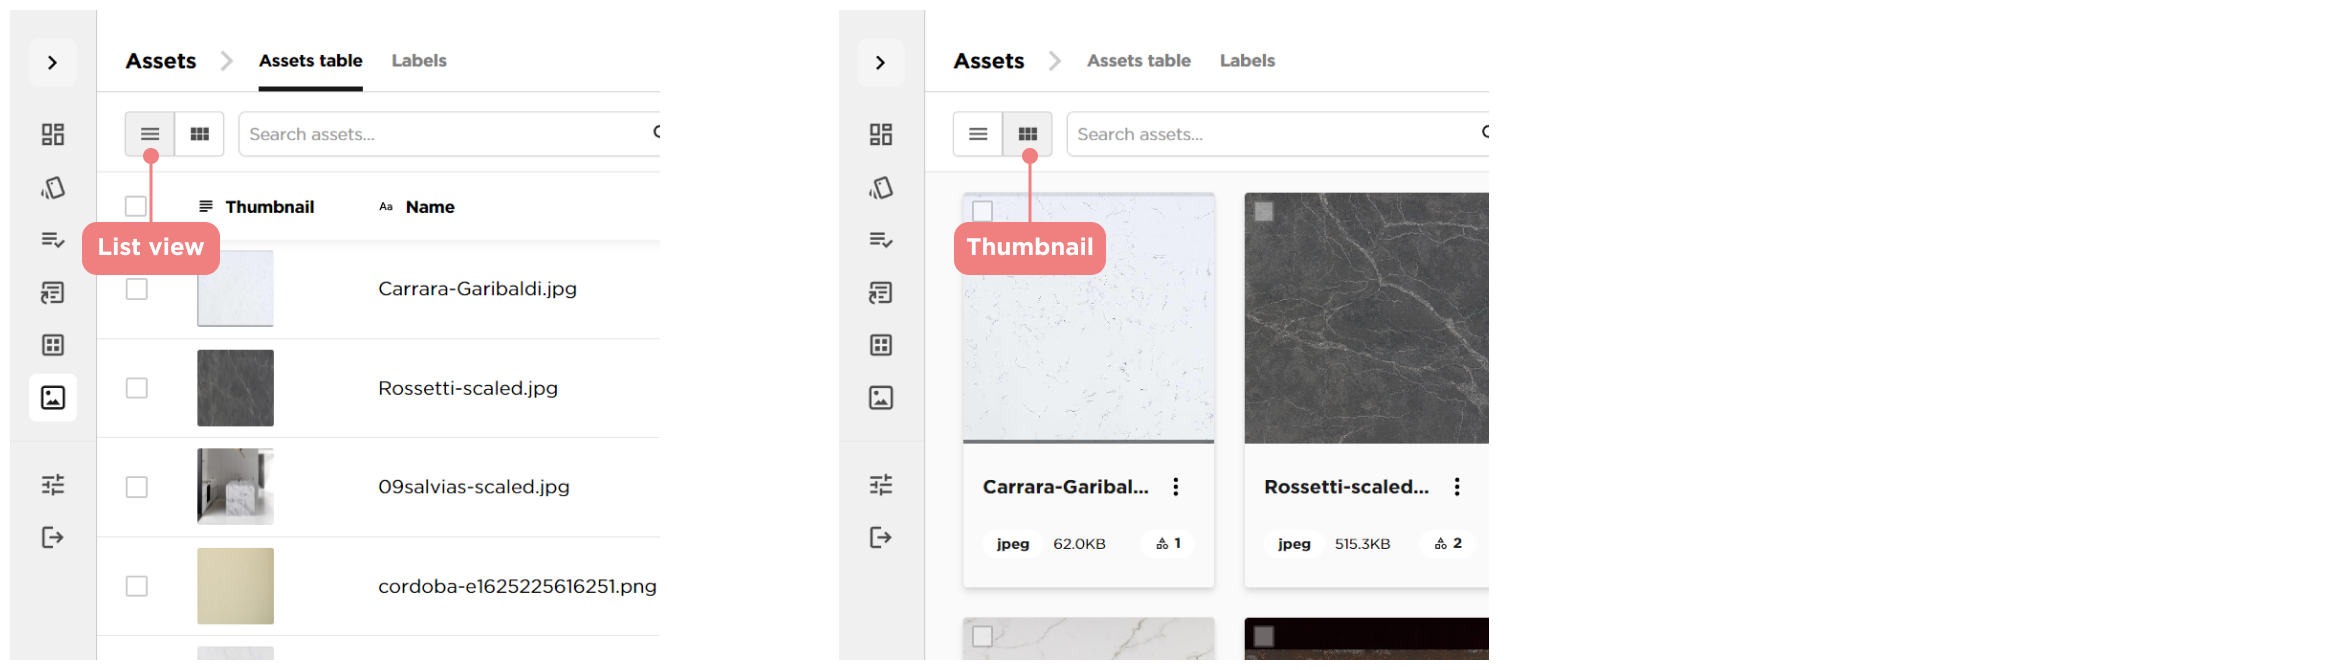
- View modes – Switch between
thumbnail viewfor a visual layout andlist viewfor a structured format.
-
Sorting & Filtering – Organise assets based on attributes such as file type, date added, or relevance.
Understanding labels and categories
What are labels?
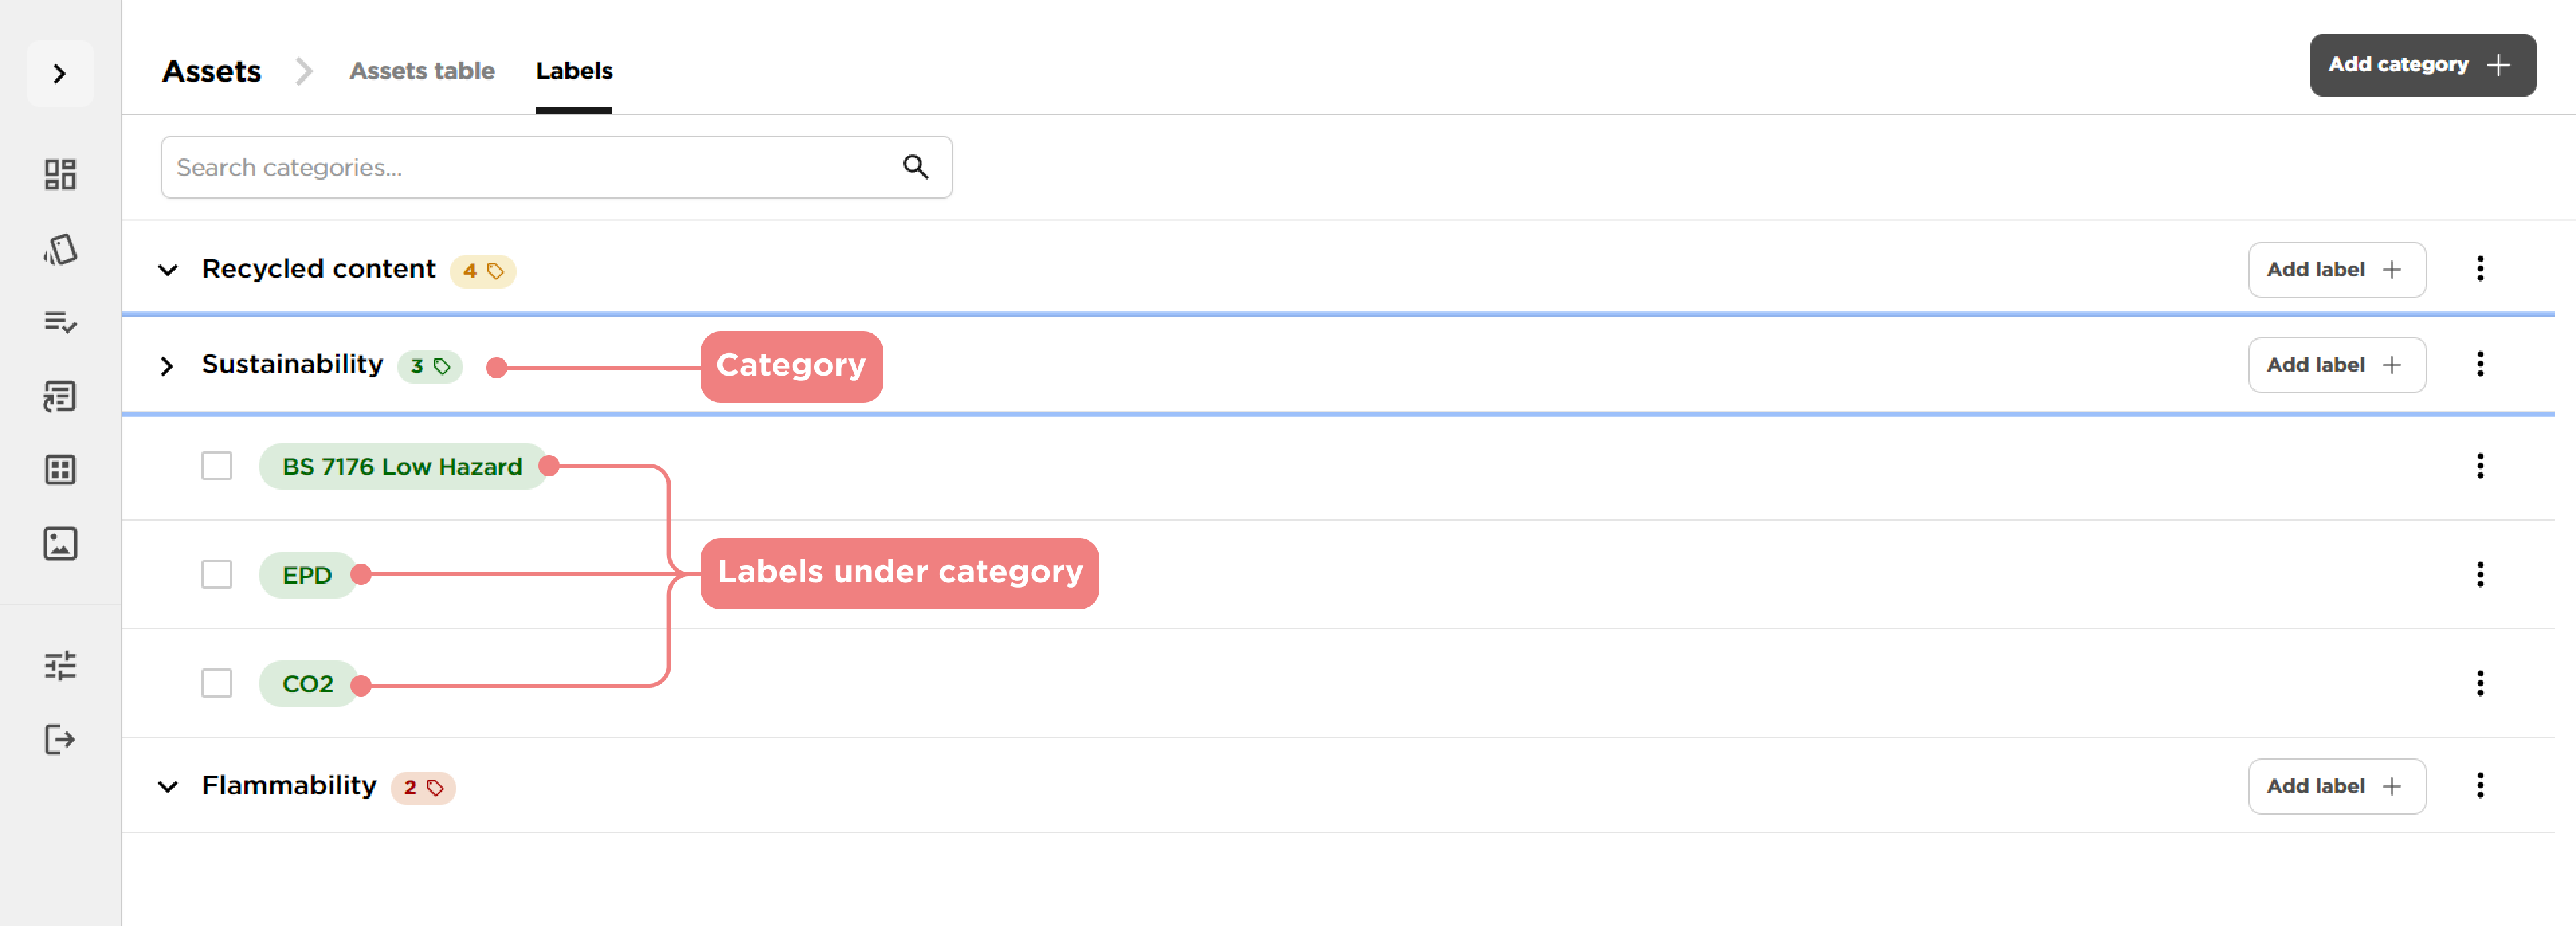
Labels help categorise and organise assets for easier access. They can be used to group files by material type, project, or specific product lines.
Labels vs. Categories
- Labels – Flexible and can be applied to multiple assets for filtering.
- Categories – More structured, used to define a product’s specific classification within the database.
Managing labels
Adding labels and categories
- Go to the assets page – Navigate to the file you want to update.
- Select
add label– Choose from existing labels or create a new one. - Apply to selected assets – Assign the label to one or multiple files.
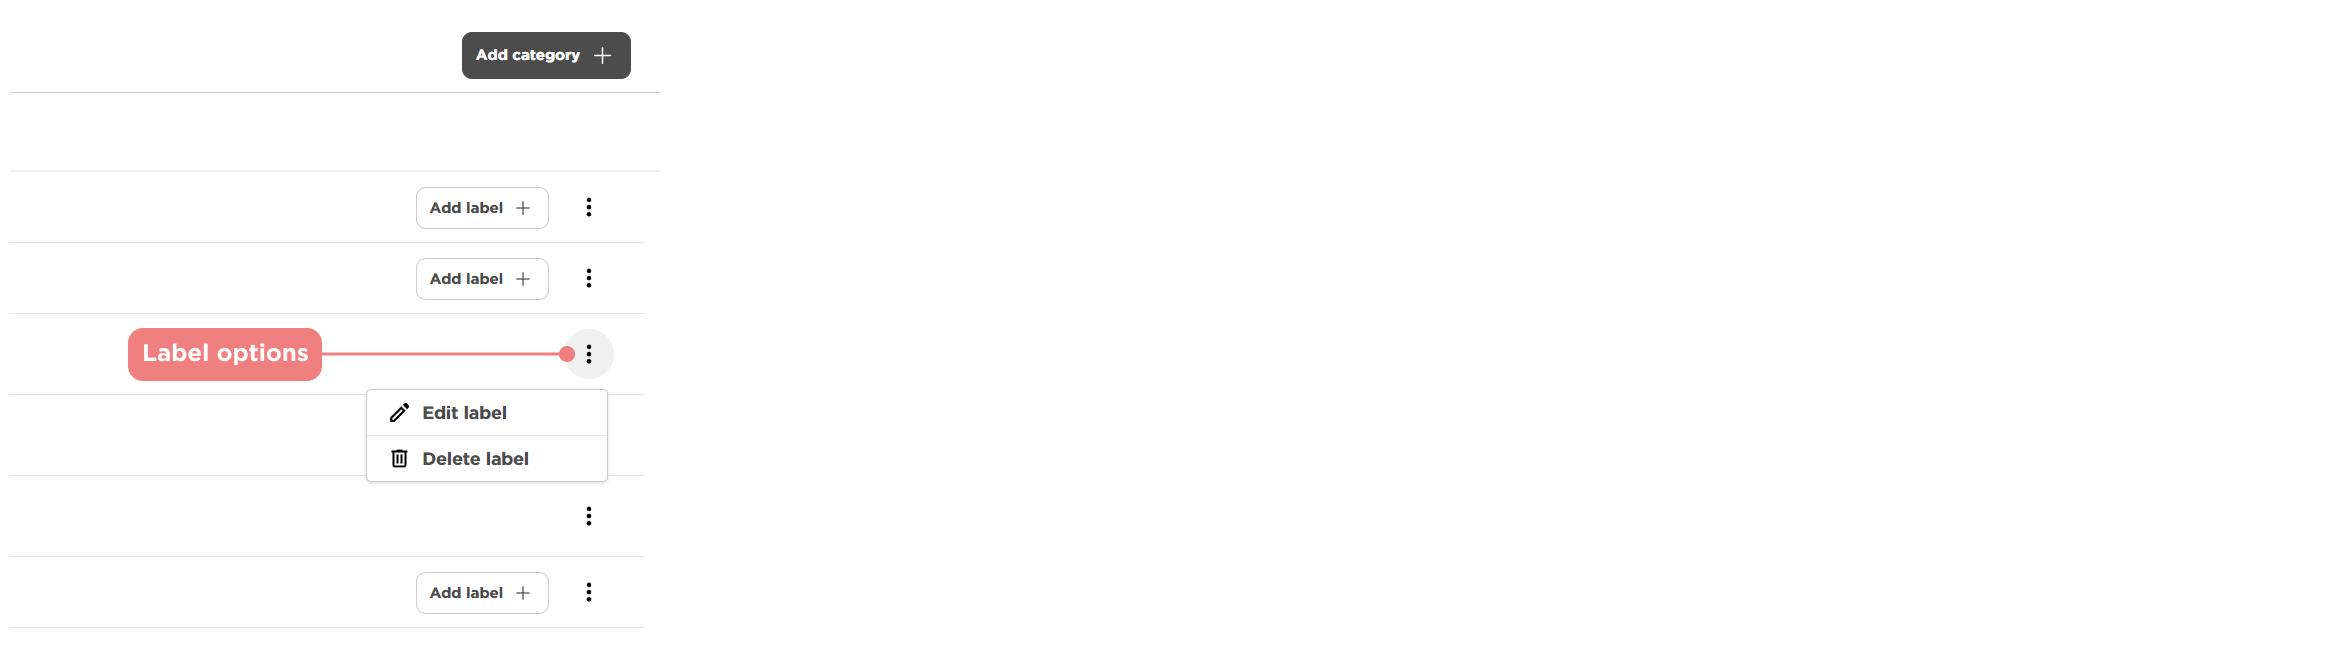
Editing and deleting labels
Editlabels – Rename or adjust existing labels as needed.Deletelabels – Remove unused labels to maintain a clean system.