Managing channels
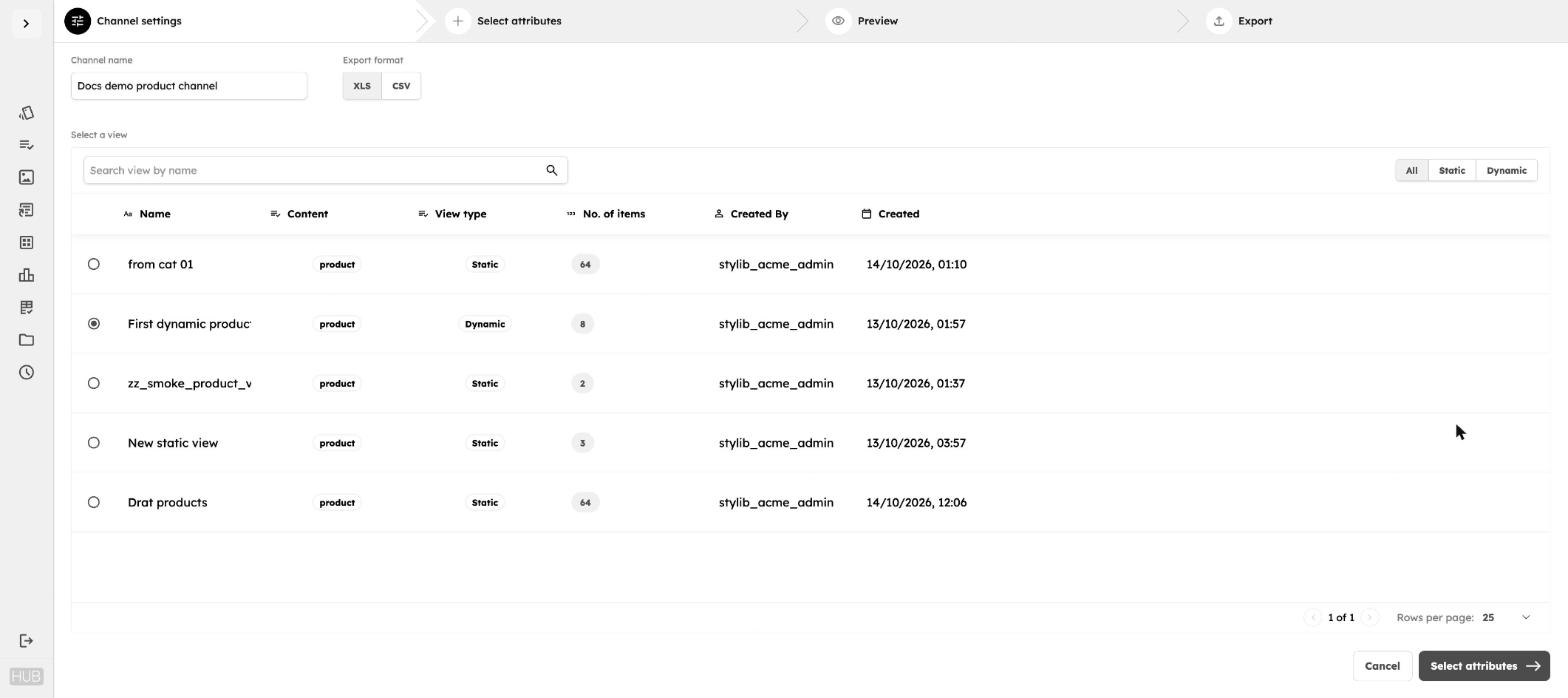
Create a channel in four steps: Channel settings, Select attributes, Preview and Export. Once it is created, you can export it again, edit it, duplicate it, rename it or delete it.
Creating a channel
Go to Channels in the left panel and click Create a channel.
Step 1: Channel settings
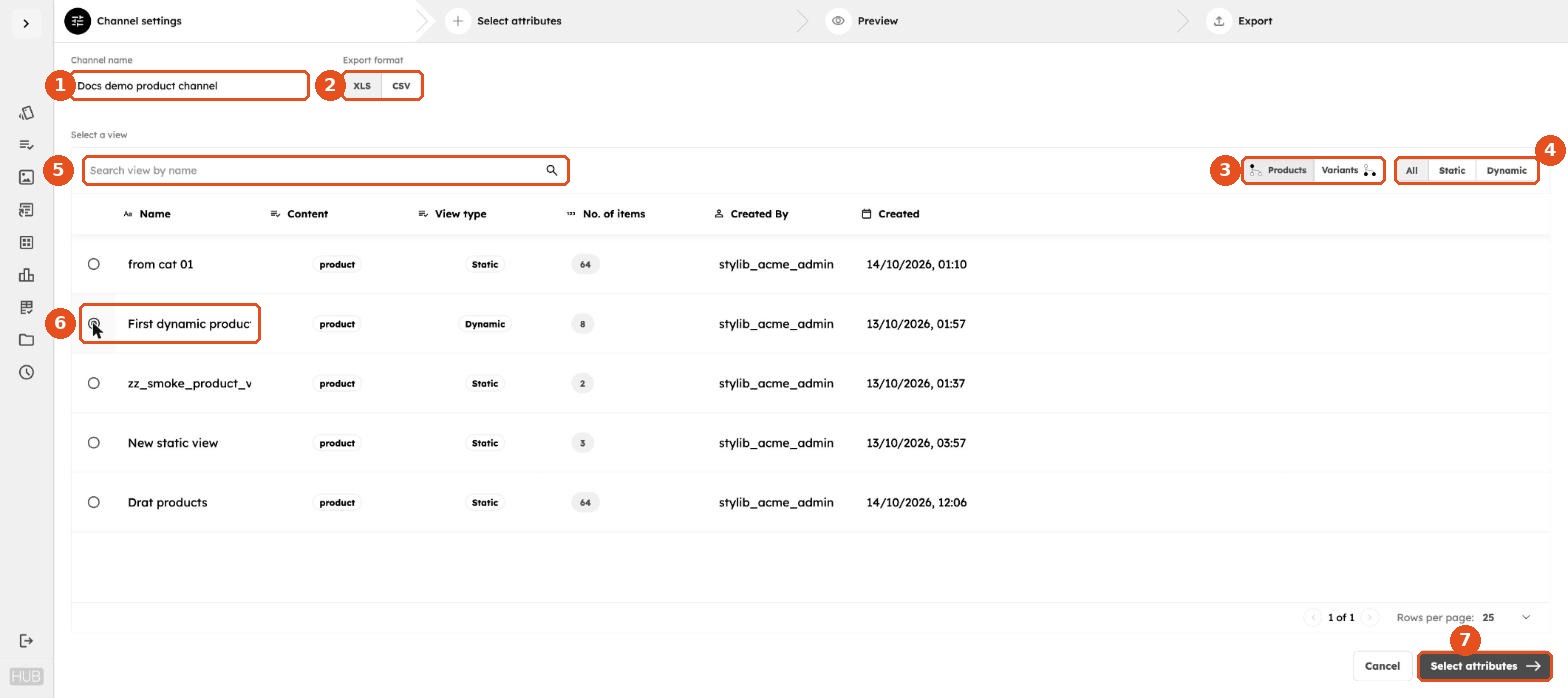
- Channel name: enter a name you will recognise later, for example the partner or purpose.
- Export format: choose XLS or CSV.
- Products / Variants: choose whether to export one row per product or one row per variant. The list below shows matching views.
- All / Static / Dynamic: filter the list by view type.
- Search: find a view by name.
- Select a view: pick the view that holds the items you want to export.
- Click Select attributes.
Your channel is saved at this point. If you leave before exporting, it appears in the Channels table with no export date, ready to finish later.
Step 2: Select attributes
Choose the columns for your file.
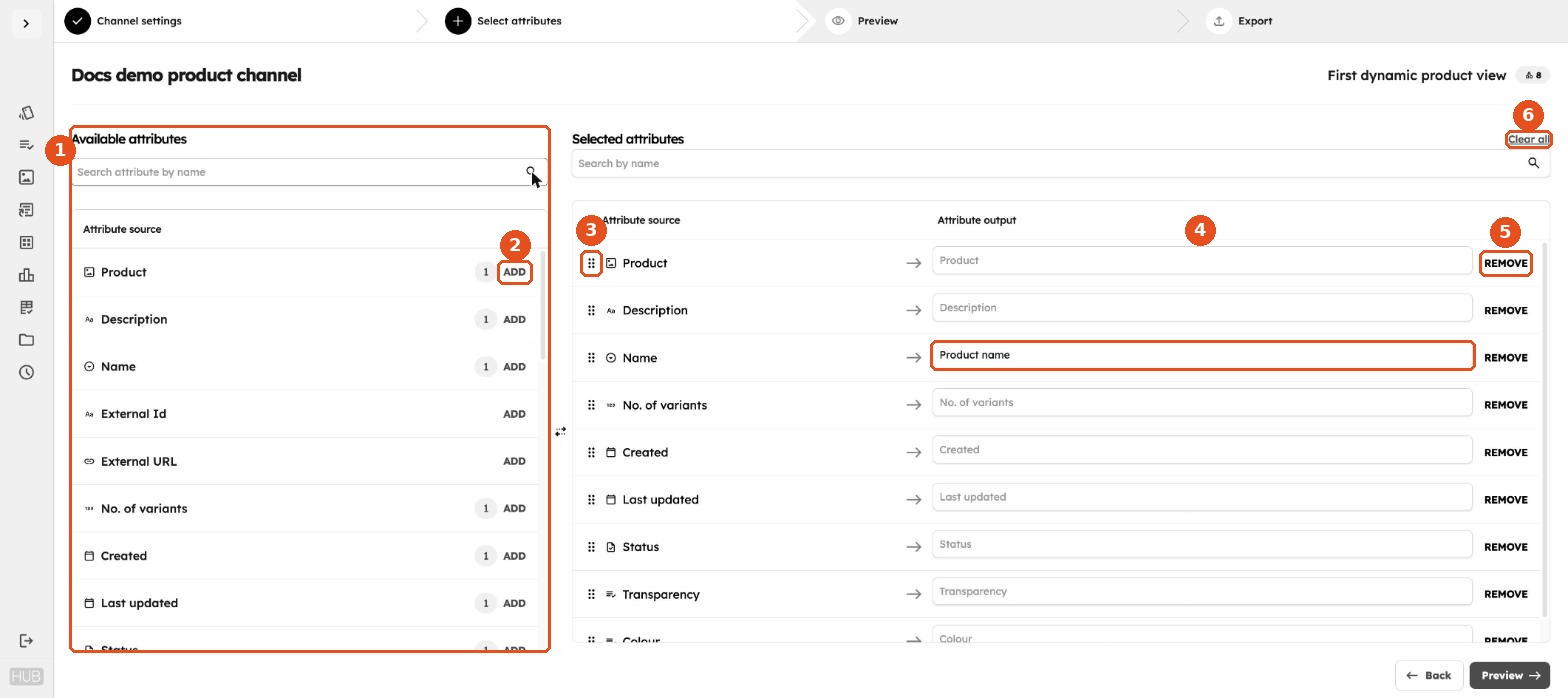
- Available attributes: every attribute you can export for this channel type. Use the search box to find one.
- ADD: adds the attribute to the file. The counter shows how many times it is already included. You can add the same attribute more than once.
- Reorder: drag the handle to change the column order.
- Attribute output: the column header in the exported file. Leave it blank to use the attribute name, or type your own, for example to match a partner's template.
- REMOVE: takes the attribute out of the file.
- Clear all: removes every selected attribute.
The selected list starts with a default set of attributes, which you can change freely.
Click Preview when you are done.
Step 3: Preview
Check the data exactly as it will be exported, with your column headers.
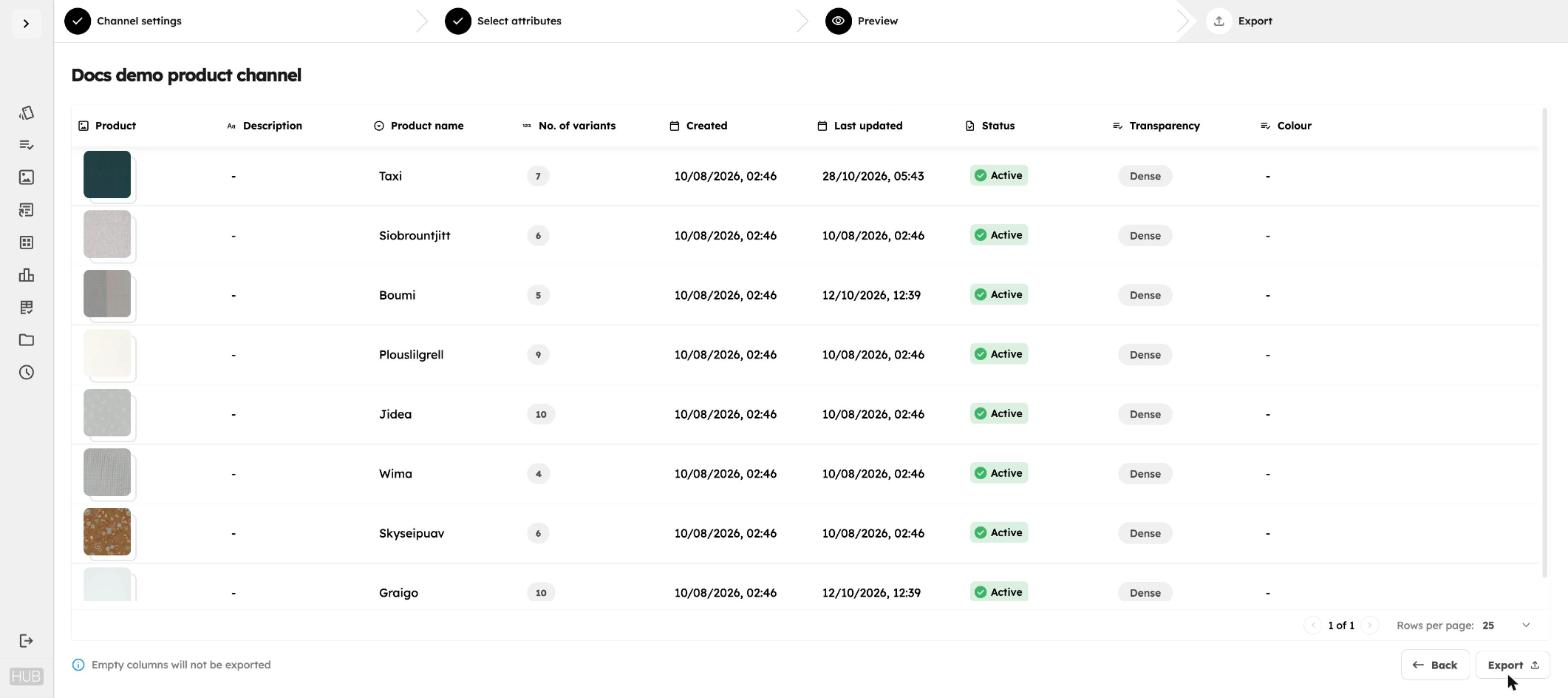
Columns with no values are not exported. Click Back to change attributes, or Export to create the file.
Step 4: Export
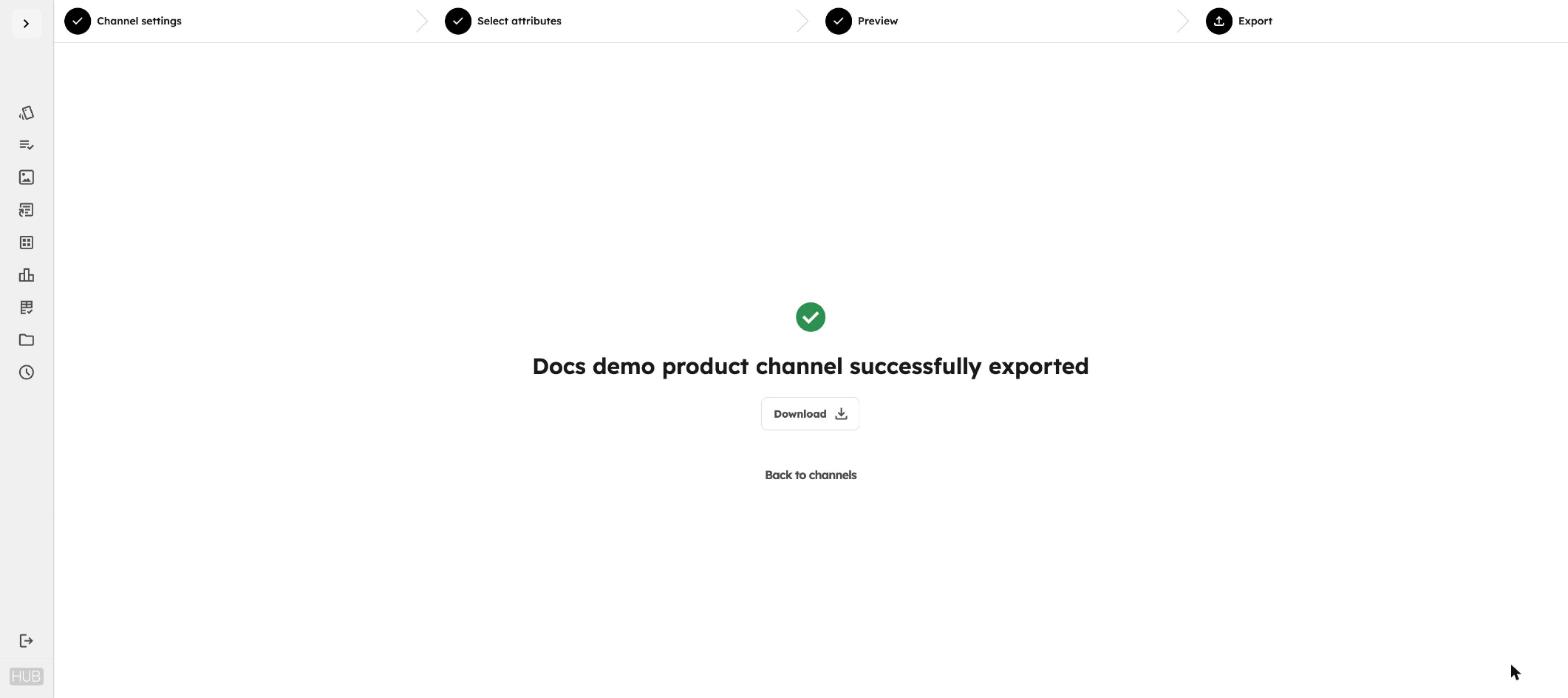
Click Download to save the file, or Back to channels to return to the table. The file is also added to Export history.
Channel actions
Click the three dots (⋮) at the end of a channel's row.
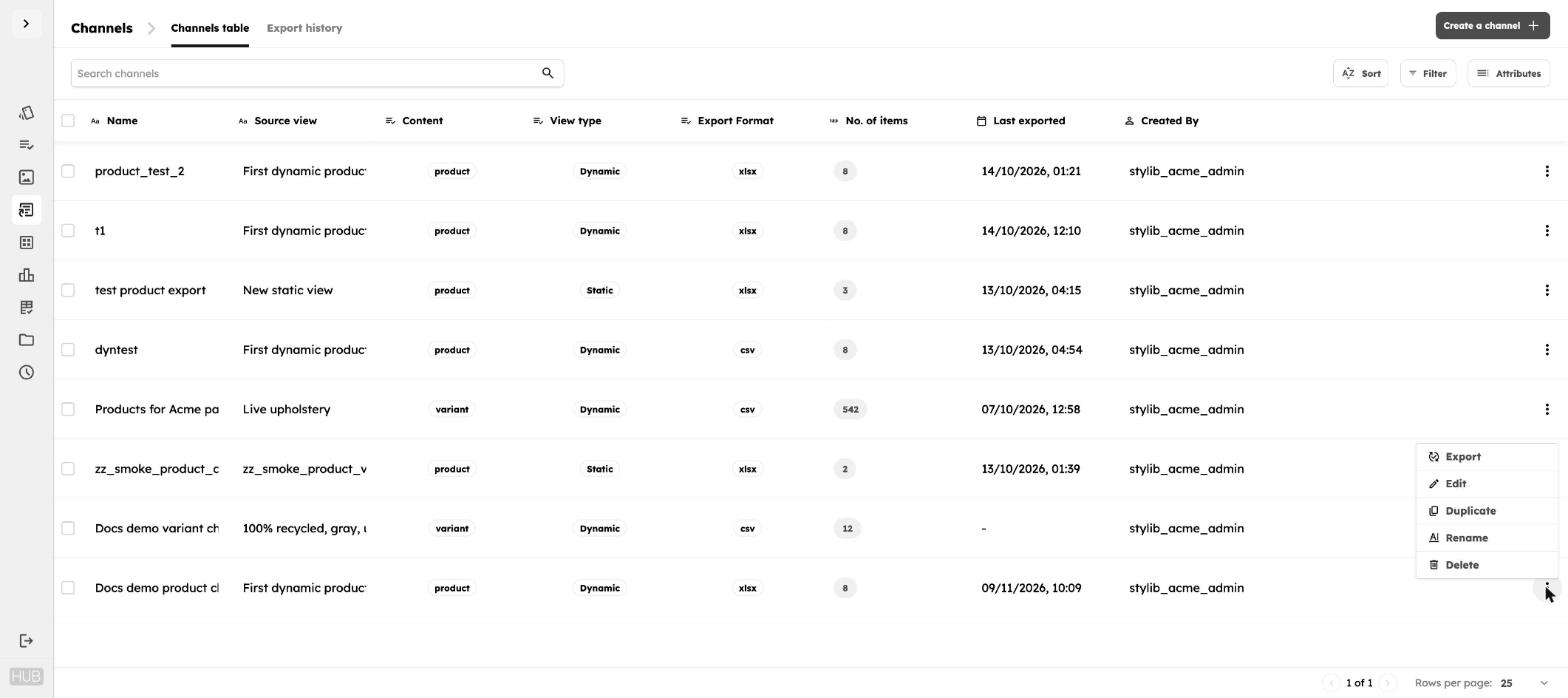
| Action | What it does |
|---|---|
| Export | Exports the channel again with its current settings and downloads the file. The new file is added to Export history. |
| Edit | Reopens the four steps. You can change the name, export format, source view and attributes. |
| Duplicate | Creates a copy called "Copy of [channel name]", which you can then edit. |
| Rename | Changes the channel name. |
| Delete | Removes the channel after you confirm. |
Editing a channel
When you edit a channel, you can switch to a different view of the same type, but you cannot switch between product and variant content. To change that, create a new channel or duplicate an existing one.
Bulk actions
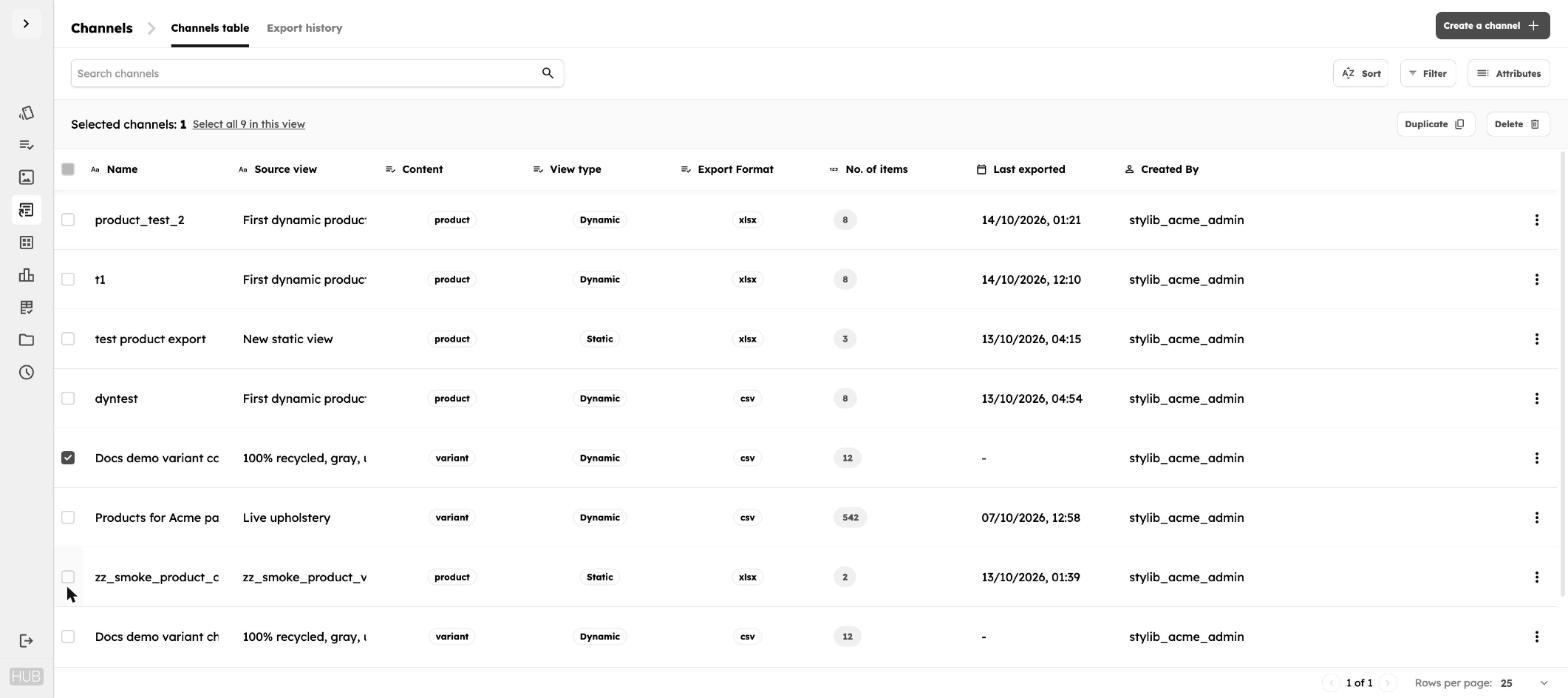
Select channels using the checkboxes, then click Duplicate or Delete above the table. Use Select all to select every channel in the current list.
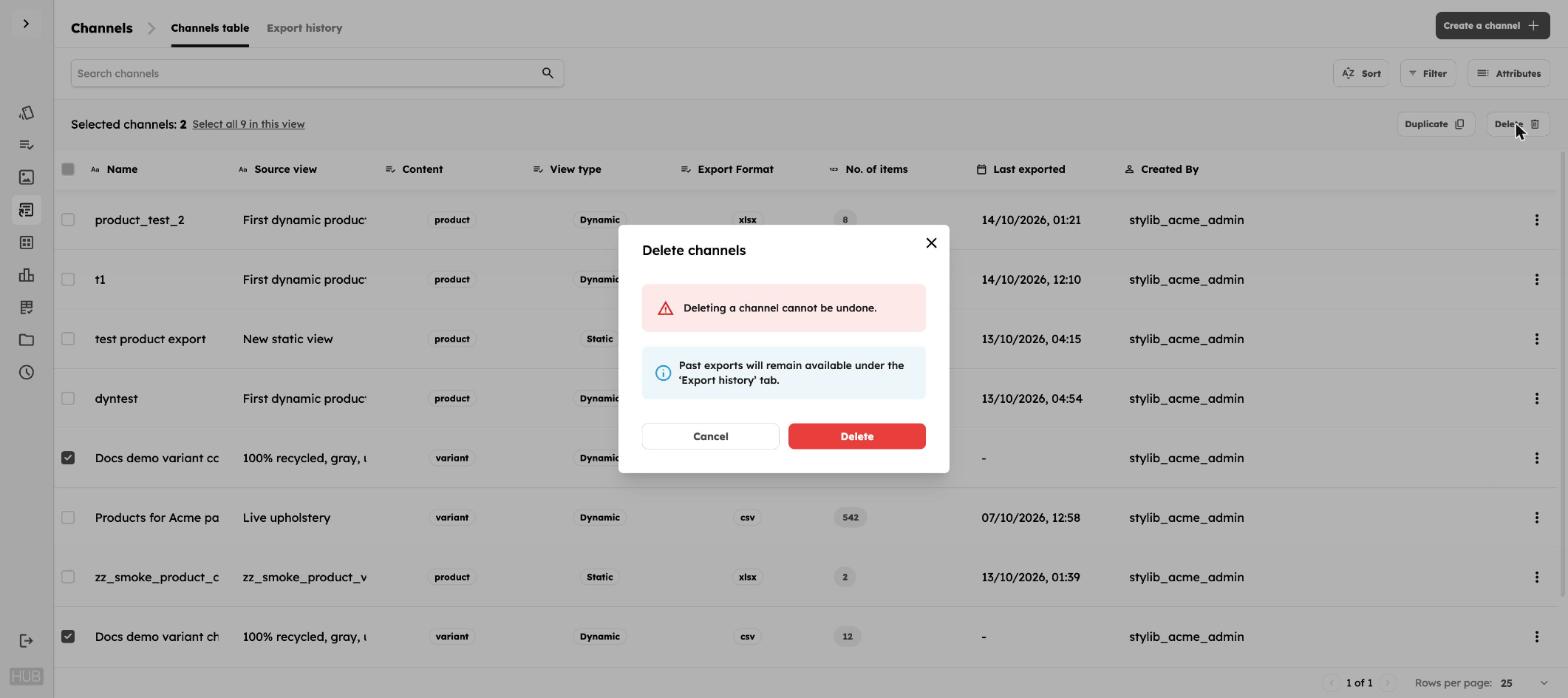
Deleting a channel
Deleting a channel cannot be undone. Files you have already exported from it remain available in Export history.
Previous: Channels overview Next: Asset library